![]()
Keep up with us on:
![]()
![]()
![]()
![]()
![]()
@bergenbrick
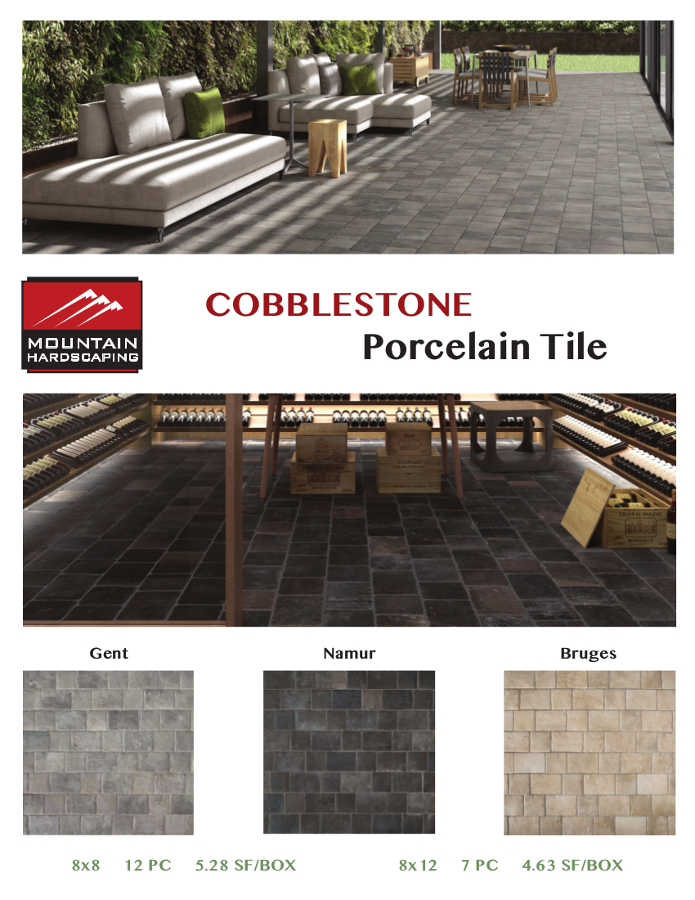
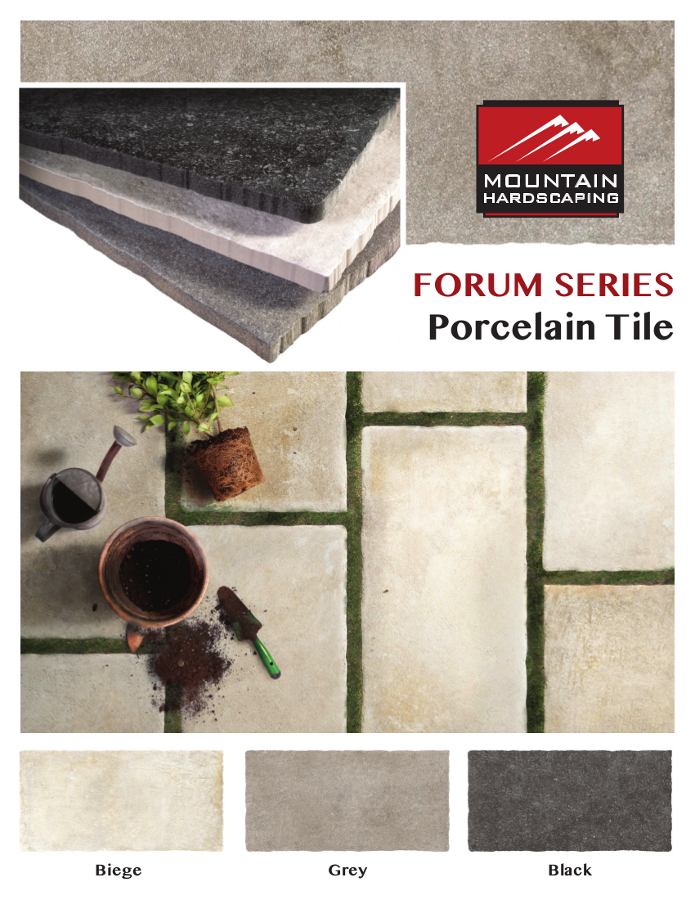
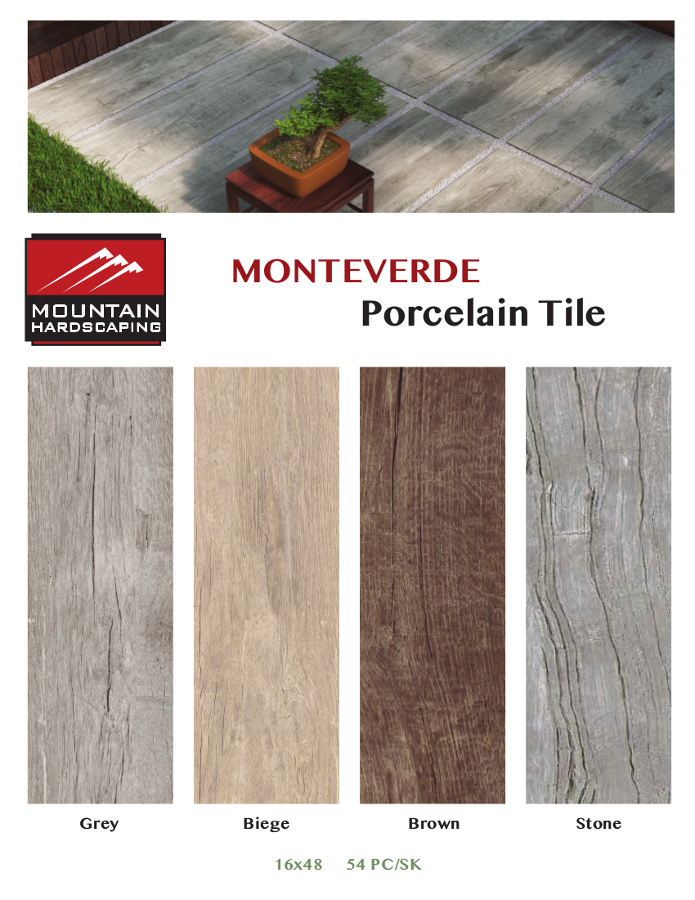
Outdoor Porcelain Paver Collection
Enjoy the modern luxury of versatility, style and quality with our Outdoor Porcelain Paver Collection! These paver tiles were made for both commercial and residential usage.


NOTE: Online / Catalog printed colors does not always present product color precisely. Final orders shall be placed from current samples received from Mountain Hardscaping or Authorized Dealer.
Installation Options
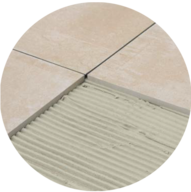
Installation over a concrete slab:
Preparation: Prepare a compact layer of gravel and hard core at least 4 inches deep (loose stone foundation) and cast a layer of concrete with a suitable thickness (usually about 6-8 inches) on top. If water proofing is required, a layer of bitumen membrane can be added, with a polyethylene separator sheathing on top.
Substrate: Create a substrate of 2-4 inches with a rebar mesh about halfway through its depth. Ensure a suitable pitch (about 2%). Comply strictly with curing and stabilisation times.
Installation: Glue the slabs in place, coating both the back of the slab and the substrate. Use a highperformance outdoor adhesive specifically for porcelain stoneware and follow the producer’s instructions. Provide expansion joints as required by the specific context.
Joints: Create joints of at least 1/4 inch with the aid of suitable spacers. The joint filler must be a specific product for outdoor use, applied in accordance with the producer’s instructions. Clean after installation with a specific cleaner to remove all traces of adhesive and grout.
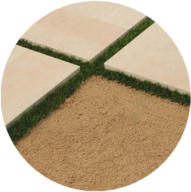
Installation on grass areas:
Preparation: Try out the arrangement of the slabs on the grass to find the best layout. Cut the ground around the edge of each slab with the aid of a spade. Remove the slabs and dig out soil to a depth of about 2.5 inches in the installation position of each one.
Substrate: Add a layer of fine gravel in the hole made for each slab to provide a level, firm substrate. Ensure a suitable pitch (about 2%)
Installation: Put the slabs in place, making sure that the top face is level with or slightly below the surface of the ground.
Joints: If necessary, compact the ground around the edges of the slabs with a rubber hammer.
Installation on gravel:
Preparation: Prepare a compact layer of gravel and hard core at least 4 inches deep (loose stone foundation) and cast a layer of concrete with a suitable thickness (usually about 6-8 inches) on top. If water proofing is required, a layer of bitumen membrane can be added, with a polyethylene separator sheathing on top.
Substrate: Create a substrate of 2-4 inches with a rebar mesh about halfway through its depth. Ensure a suitable pitch (about 2%). Comply strictly with curing and stabilisation times.
Installation: Glue the slabs in place, coating both the back of the slab and the substrate. Use a highperformance outdoor adhesive specifically for porcelain stoneware and follow the producer’s instructions. Provide expansion joints as required by the specific context.
Joints: Create joints of at least 1/4 inch with the aid of suitable spacers. The joint filler must be a specific product for outdoor use, applied in accordance with the producer’s instructions. Clean after installation with a specific cleaner to remove all traces of adhesive and grout.
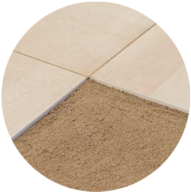
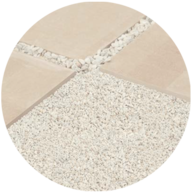
Installation on sand:
Preparation: Level the zone for paving with the aid of a straightedge.
Substrate: A layer of sand at least 2-4 inches deep is recommended. Ensure a suitable pitch (about 2%)
Installation: Position the slabs with the aid of spacers or a bar so that the joints are perfectly aligned, and level the surface with the aid of a straightedge. A white rubber hammer can be used for any adjustments.
Joints: Fill the gaps between slabs with sand to prevent the risk of tripping.
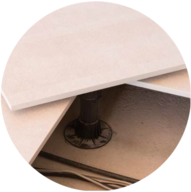
Installation using raised pedestal systems:
Preparation: For assessments on the type of pedestal (fixed, self-levelling) and the height of the top surface, advice from an expert and/or the pedestal supplier is essential. When calculating the number of pedestals and any edge finishing accessories, bear in mind any offcuts and the size of the area for paving in relation to the installation module.
Substrate: The substrate must be appropriately waterproofed and have a suitable pitch (1.5-2%) and systems for water drainage. The surface must have the strength required to support the concentrated load applied by the pedestals.
Installation: Position the pedestals in accordance with the optimal installation grid, taking care to adapt the module to the area for paving and avoid perimeter offcuts of less than 4 inches. Joints: Pedestals should be arranged with the aid of a spacer which leaves a joint of 1/4 inch between tiles. The open gap created allows rainwater to drain into the cavity underneath.
Caution: risk of breakage. In the event of a heavy item falling on a slab resting on pedestals, the concentrated impact of the object falling from some height could cause it to break, with a potential risk for anyone in the vicinity. Caution: risk of lifting. When outdoor patio coverings and pavings are installed without glue or fasteners, strong winds may lift and move the slabs, with the risk of personal injury or damage to property. Mountain Hardscaping urges customers to check the installation method, specific weather conditions and local regulations with a qualified professional and adopt solutions which avoid all risks.


Copyright©2021 All Rights Reserved.